What Nobody Tells You About Installing a Driveway Paver

Did you know that nearly 60% of driveway paver installations develop problems within the first three years — not because of bad materials, but because of mistakes made before the first paver was ever laid? What nobody tells you about driveway paver installation is that the real work happens underground, in the planning phase, and in the details most homeowners never think to ask about. If you are considering upgrading your driveway with pavers, this guide will walk you through everything contractors rarely mention upfront — from soil preparation to long-term maintenance costs — so you can make a confident, informed decision. Continue reading to discover how to avoid the most expensive and frustrating mistakes in driveway paver installation.
Ready to install a beautiful, long-lasting driveway in the Concord area? Get a free estimate from BBP Pavers today.
What Nobody Tells You About Driveway Paver Installation: The Full Picture
Most homeowners who start researching driveway pavers focus on one thing: looks. They browse photos on Pinterest or Instagram, pick a color they love, and call a contractor. What nobody tells you about driveway paver installation, however, is that aesthetics are only about 10% of the project. The other 90% is what happens before and beneath the surface.
What Is Driveway Paver Installation, Really?
Driveway paver installation is the process of laying individual interlocking units — made from concrete, brick, or natural stone — over a carefully prepared base to create a durable, flexible, and attractive driveway surface. Unlike poured concrete or asphalt, pavers are installed piece by piece, which means the system can flex under pressure and load without cracking.
What nobody tells you about driveway paver installation is that the paver units themselves are actually one of the easiest parts of the job. The complexity lies in excavation depth, base compaction, edge restraints, drainage design, and joint sand selection — all of which happen before a single decorative paver goes down.
The interlocking concrete pavement industry has established technical standards that professional installers follow. These standards exist precisely because the hidden layers of a paver driveway determine everything about how long it lasts.
The Hidden Costs Most Contractors Won’t Mention
One of the most important things what nobody tells you about driveway paver installation involves money — specifically, the costs that never appear in a basic quote.
Here is a breakdown of what can be left out of initial estimates:
- Excavation and haul-away fees: Removing existing concrete or asphalt and hauling debris can add $500–$2,000 to a project depending on the size and material.
- Base material upgrades: In areas with clay-heavy or unstable soil, a deeper or engineered base may be required. This adds both material and labor costs.
- Edge restraint systems: Plastic or metal edge restraints keep your pavers from shifting over time. Some contractors skip them to save money — and the driveway migrates within two seasons.
- Polymeric sand: Regular sand washes out. Polymeric sand hardens when wet and resists weeds and insects. The difference in cost is small; the difference in durability is significant.
- Sealing: Sealing is not always included in the base price but is highly recommended to protect color and repel oil stains.
What nobody tells you about driveway paver installation is that a quote that looks $2,000 cheaper than a competitor may simply be leaving out these critical components.
At BBP Pavers, every estimate includes a transparent breakdown so homeowners in Concord, Walnut Creek, and surrounding areas know exactly what they are paying for.
The Ground Beneath Your Pavers Matters More Than the Pavers Themselves
Why Soil Preparation Is the Most Critical Step
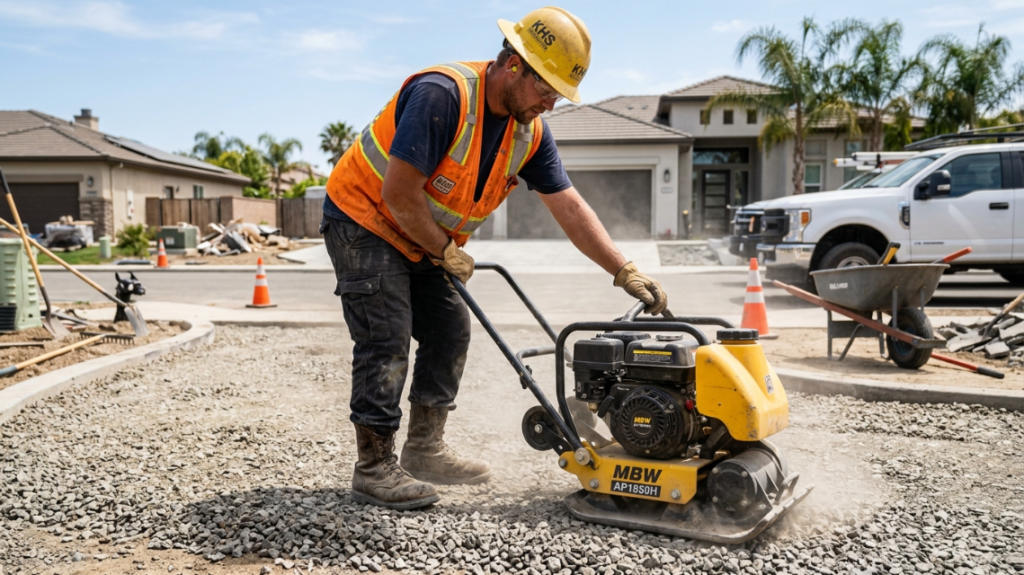
What nobody tells you about driveway paver installation is that even the most beautiful pavers will fail if the ground beneath them is not properly prepared. The base layer — typically 4 to 8 inches of compacted crushed stone aggregate — is what gives the driveway its structural integrity.
In the San Francisco Bay Area, the soil composition varies significantly between cities. In areas like Orinda and Lafayette, expansive clay soils are common. These soils swell when wet and shrink when dry, creating movement that will destroy a poorly prepared base over time.
A proper installation involves:
- Excavating to the correct depth (typically 8–12 inches for driveways)
- Grading for drainage slope (minimum 1–2% away from the structure)
- Laying and compacting a crushed stone base in lifts
- Adding a bedding sand layer (1 inch, screeded flat)
- Installing edge restraints before any pavers are set
- Laying pavers in the chosen pattern
- Compacting pavers into the bedding sand
- Filling joints with polymeric sand and final compaction
Skipping or rushing any of these steps is what nobody tells you about driveway paver installation — and it is also what separates a 5-year driveway from a 30-year driveway.
Drainage: The Problem Nobody Wants to Talk About
How Poor Drainage Destroys a Driveway
What nobody tells you about driveway paver installation is that water is your driveway’s worst enemy — and most installation problems trace back to drainage design errors.
Pavers are permeable by nature (water passes through the joints), but the base layer beneath them must also drain properly. If water pools under the base, it softens the subgrade, and the pavers begin to sink and shift unevenly.
Common drainage mistakes include:
- Installing pavers flat with no slope
- Directing runoff toward the foundation of the home
- Failing to install drainage channels at the bottom of sloped driveways
- Using non-permeable base materials that trap water
In cities like Fremont and Palo Alto, local stormwater regulations may also require permeable paving solutions. A professional installer will design drainage into the project from day one.
Real Stories: What Homeowners Discovered After the Job Was Done
Case Study: A Concord Homeowner’s Experience
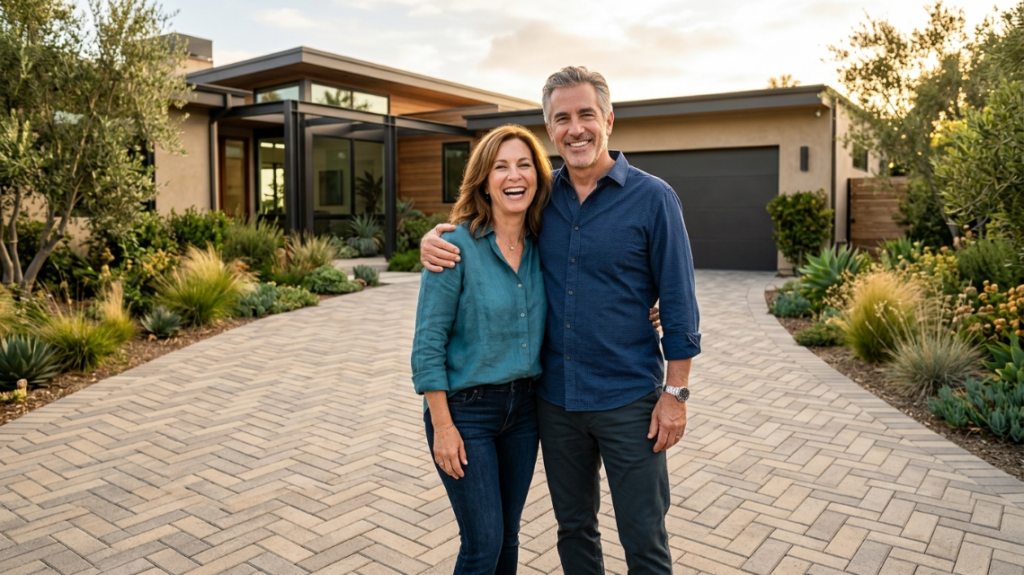
Maria and David, homeowners in Concord, CA, had asphalt that had cracked beyond repair after 15 years. They got three quotes. The cheapest was $4,200 for a 400 sq ft driveway. The quote from BBP Pavers was $6,800. The difference? The lower quote did not include proper base excavation, edge restraints, or polymeric sand.
After going with BBP Pavers, Maria shared this review: “We had no idea how much goes into a paver driveway until the crew explained the process. The finished product looks incredible, and we feel confident it will last. Worth every penny.”
This kind of outcome is exactly what nobody tells you about driveway paver installation — the value of doing it right the first time far outweighs the short-term savings of cutting corners.
Another client in Walnut Creek noted: “BBP Pavers transformed our driveway completely. Professional crew, clean worksite, and the driveway looks better than I imagined.”
You can read more reviews on Google and Yelp.
Thinking about a new driveway? Request your free quote from BBP Pavers — serving Concord, Walnut Creek, Lafayette, and the entire Bay Area.
The Most Common Driveway Paver Installation Mistakes (And How to Avoid Them)
What nobody tells you about driveway paver installation is that most failures are entirely preventable. Here are the top mistakes and how to avoid each one.
Mistake 1: Hiring Based on Price Alone
The lowest bid usually means something important was left out. Always ask for an itemized quote and compare line by line.
Mistake 2: Ignoring the Base Specification
Ask your contractor specifically: how deep will you excavate? What base material will you use? How many compaction passes? If they cannot answer clearly, that is a red flag.
Mistake 3: Skipping the Sealer
Sealing your pavers after installation — and resealing every 3–5 years — protects color, prevents oil staining, and extends the life of the polymeric sand in your joints. What nobody tells you about driveway paver installation is that an unsealed driveway ages dramatically faster than a sealed one.
Mistake 4: Wrong Pattern for the Application
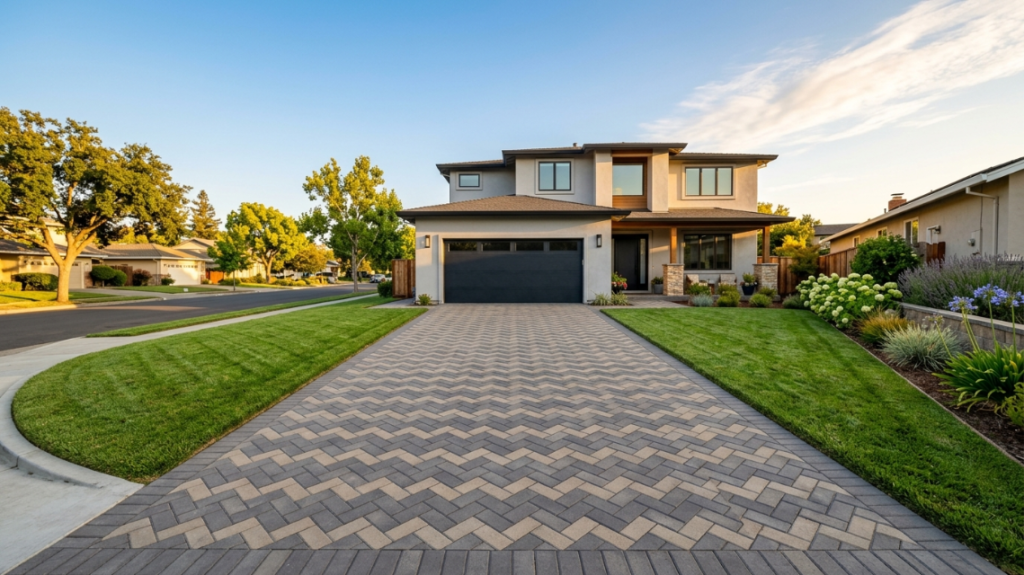
Herringbone patterns (45° or 90°) interlock at opposing angles and distribute load across multiple units simultaneously. Running bond patterns, while attractive, provide less structural strength under vehicle traffic. For driveways, always use herringbone.
Mistake 5: No Edge Restraints
Without edge restraints, the perimeter pavers have nothing to push against. Over time — especially after freeze-thaw cycles or heavy rain — the edges migrate outward and the entire field of pavers shifts. This is one of the most overlooked issues in what nobody tells you about driveway paver installation.
Sealing, Maintenance, and Long-Term Care
How to Keep Your Paver Driveway Looking New
A well-installed paver driveway requires minimal maintenance, but “minimal” does not mean “none.” What nobody tells you about driveway paver installation is that long-term appearance and performance depend on a simple annual routine.
Basic maintenance checklist:
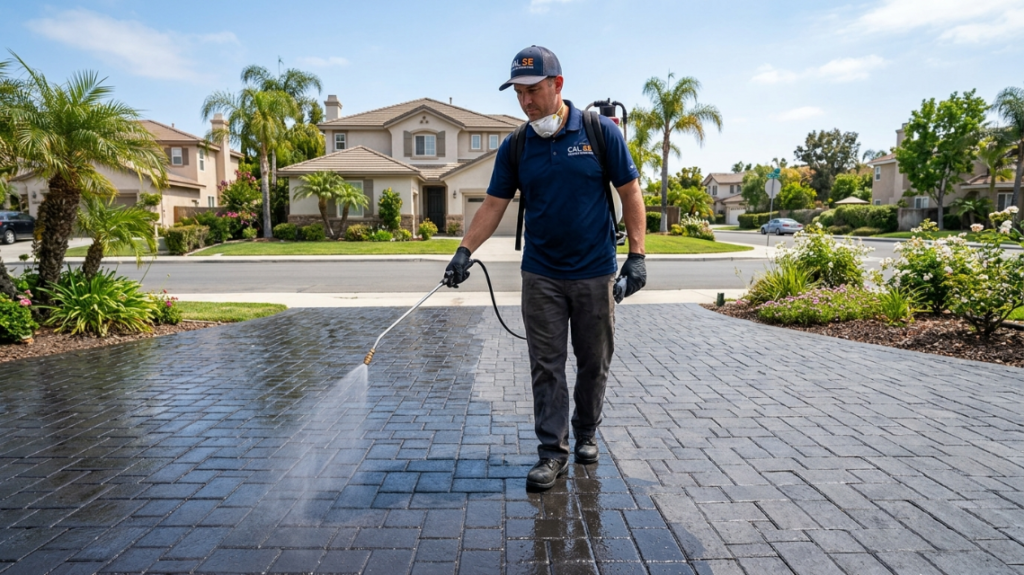
- Rinse with a garden hose or pressure wash (low setting) every 6–12 months
- Inspect and re-sand joints if sand has washed out
- Reseal every 3–5 years depending on traffic and climate
- Address oil stains immediately with a degreaser before they penetrate
- Replace individual damaged pavers as needed — no need to redo the whole driveway
One of the biggest advantages of pavers over poured concrete is repairability. If a paver cracks or sinks, you remove and reset that section only. With concrete, a crack means patching or full replacement.
BBP Pavers offers a warranty on installations, and the team is available to answer maintenance questions even after the project is complete.
Local Considerations for Bay Area Homeowners
What Concord and the Surrounding Cities Need to Know
What nobody tells you about driveway paver installation in the San Francisco Bay Area is that local conditions introduce variables that homeowners in other parts of the country simply do not face.
The Bay Area’s microclimate diversity — from the fog of the coastal cities to the heat of the inland valleys — affects material selection, sealer type, and base depth. Areas near Moraga and Lafayette experience significant soil movement during the wet season that demands a properly engineered base.
In addition, many cities in Contra Costa County and Alameda County have regulations around stormwater management that may influence whether permeable or standard pavers are the better option for your property.
Working with a locally experienced contractor — one who knows the soil, the code, and the climate — makes an enormous difference. BBP Pavers has completed hundreds of projects across Concord, Walnut Creek, Los Altos, Palo Alto, and Atherton, bringing that local knowledge to every job.
You can also explore BBP Pavers’ full range of outdoor services — from patio pavers and walkway pavers to retaining walls, outdoor kitchens, fire pits, pergolas, pool decks, and outdoor lighting — to complete your entire outdoor space.
Frequently Asked Questions
How long does driveway paver installation take? Most residential driveway paver installations take 2–5 days depending on size and complexity. The base preparation typically takes 1–2 days, and the paver laying and finishing work takes the remaining time. Weather and site conditions can affect the timeline.
How long do paver driveways last? A properly installed paver driveway can last 25–50 years with basic maintenance. The pavers themselves are extremely durable; the lifespan depends primarily on base quality and regular joint sand upkeep.
Can I install pavers over an existing concrete driveway? In most cases, this is not recommended. What nobody tells you about driveway paver installation over existing concrete is that it raises the surface height significantly, creates drainage issues, and voids most warranties. Full removal of the old surface is the correct approach.
What is the best paver pattern for a driveway? The 90-degree herringbone pattern is considered the strongest and most suitable for vehicle traffic. It distributes load evenly and resists spreading along the edges better than running bond or stack bond patterns.
How much does driveway paver installation cost in Concord, CA? In the Concord and greater Bay Area, professionally installed paver driveways typically range from $15 to $30 per square foot, depending on paver material, pattern complexity, site conditions, and base requirements. Request a free quote for an accurate estimate for your property.
Conclusion: Now You Know What Nobody Tells You
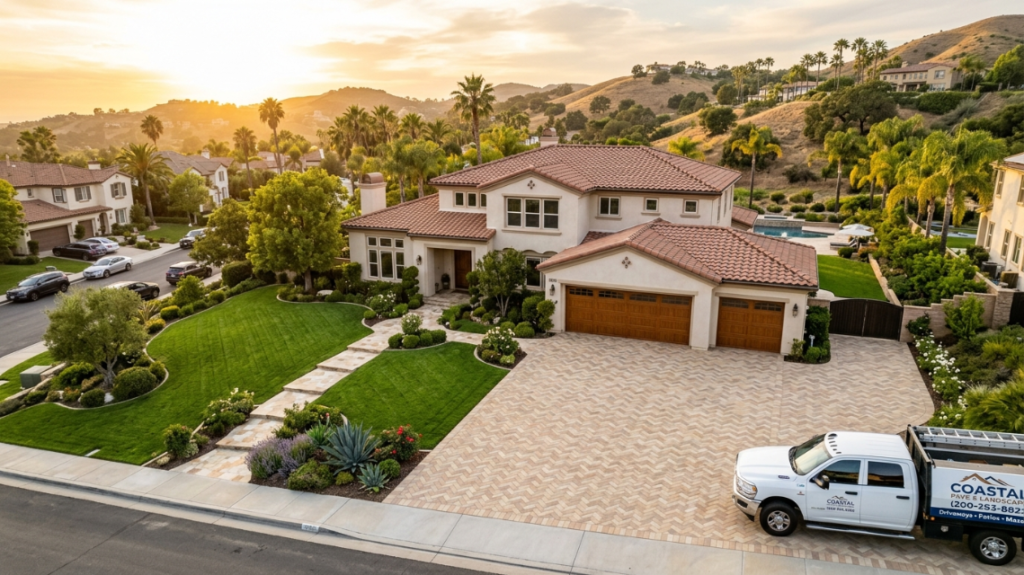
What nobody tells you about driveway paver installation is that success comes down to preparation, not products. The pavers are just the finish. The real investment is in the base, the drainage, the edge restraints, and the expertise of the contractor you choose.
Here is a quick summary of what you now know:
- The base layer is the most important part of any paver installation
- Hidden costs in low-ball quotes can eliminate any apparent savings
- Soil type, drainage, and local climate all affect material and design choices
- Herringbone is the strongest pattern for driveways
- Sealing and joint sand maintenance protect your investment long term
- Working with a locally experienced contractor eliminates guesswork
What nobody tells you about driveway paver installation is also that getting it right the first time means you may never need to replace your driveway again in your lifetime. That is the real value of choosing quality over shortcuts.
Ready to start your driveway paver installation in Concord or anywhere in the Bay Area? Contact BBP Pavers today for a free, no-obligation estimate. Our team is ready to walk you through every step — no surprises, no shortcuts.
Call us at +1 844-497-3321 | Email: bbppavers@gmail.com Office Hours: Mon–Fri 9 AM–5 PM | Saturday 9 AM–2 PM 4918 Clayton Rd, Concord, CA 94521
Get Your Free Estimate | Learn More About Our Services | See Our Work on Instagram | Follow Us on Facebook