How to Lay Pavers: A Comprehensive Guide
Laying pavers is a rewarding DIY project that can transform your outdoor space. Whether you’re creating a patio, walkway, or driveway, proper installation is key to ensuring long-lasting and visually appealing results. In this comprehensive guide, we will walk you through the step-by-step process of laying pavers. From preparing the ground to jointing and sealing, we’ll cover everything you need to know to achieve professional-quality results.
Introduction
Before we dive into the details, let’s answer some common questions that may arise during the paver installation process:
- How do you prepare the ground before laying pavers?
- What do you put under pavers?
- What is the correct way to set pavers?
- Can you lay pavers directly on dirt?
These questions will be addressed throughout the article as we explore each step of the paver installation process.
Understanding Pavers
To lay pavers effectively, it’s important to understand the different types of pavers available and choose the right ones for your project. We’ll discuss various types of pavers, such as concrete, natural stone, and brick, highlighting their characteristics, advantages, and considerations. By understanding the options, you can select pavers that best suit your desired aesthetics, budget, and durability requirements.
Types of Pavers
In this section, we’ll dive into the different types of pavers, exploring their unique features and applications. We’ll discuss the benefits of concrete pavers, the natural beauty of stone pavers, and the timeless appeal of brick pavers. Understanding the characteristics of each type will help you make an informed decision for your project.
Choosing the Right Pavers
Once you’ve familiarized yourself with the different types of pavers, it’s time to choose the right ones for your project. We’ll provide guidance on factors to consider, such as color, texture, size, and pattern options. By considering your design goals and functional needs, you can select pavers that complement your overall vision.
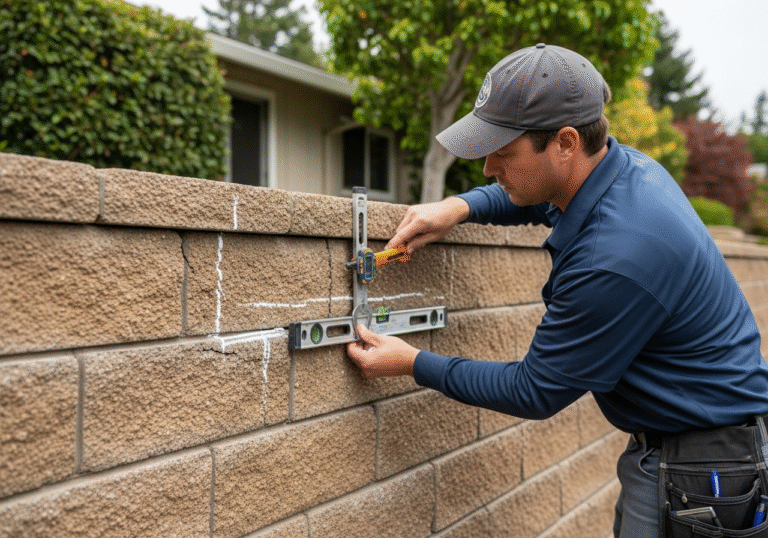
Preparing the Site
Before you start laying pavers, proper site preparation is essential. This section will address the question, “How do you prepare the ground before laying pavers?” We’ll guide you through the process of measuring and marking the area, ensuring accurate dimensions and alignment. We’ll also discuss excavation and grading techniques to create a level and stable surface for the pavers.
Measuring and Marking
Accurate measurements and markings are crucial to achieving a professional-looking paver installation. We’ll provide tips on measuring the area, accounting for slope and drainage, and marking the layout lines. Proper planning and precise measurements will set the foundation for a successful paver project.
Excavation and Grading
Excavation and grading are critical steps in preparing the site for paver installation. We’ll walk you through the process of removing existing vegetation, excavating the area to the appropriate depth, and ensuring proper drainage. With our guidance, you’ll be able to create a well-prepared site that promotes the longevity of your pavers.
Creating a Solid Base
A solid and stable base is vital for the structural integrity of your paver installation. Answering the question, “What do you put under pavers?” we’ll explore base materials and discuss their functions and benefits. We’ll also provide guidance on properly compacting the base to prevent settling and ensure a level surface for the pavers.
Base Materials
Choosing the right base materials is essential for a durable and long-lasting paver installation. We’ll discuss commonly used materials such as crushed stone, gravel, and sand, highlighting their characteristics and suitability for different applications. Understanding the purpose of each layer will help you create a stable and supportive base for your pavers.
Compacting the Base
Properly compacting the base is crucial for preventing future settlement and maintaining the integrity of your paver project. We’ll provide step-by-step instructions on compacting the base using a plate compactor or hand tamper. With our guidance, you’ll ensure a solid foundation that can withstand the test of time.
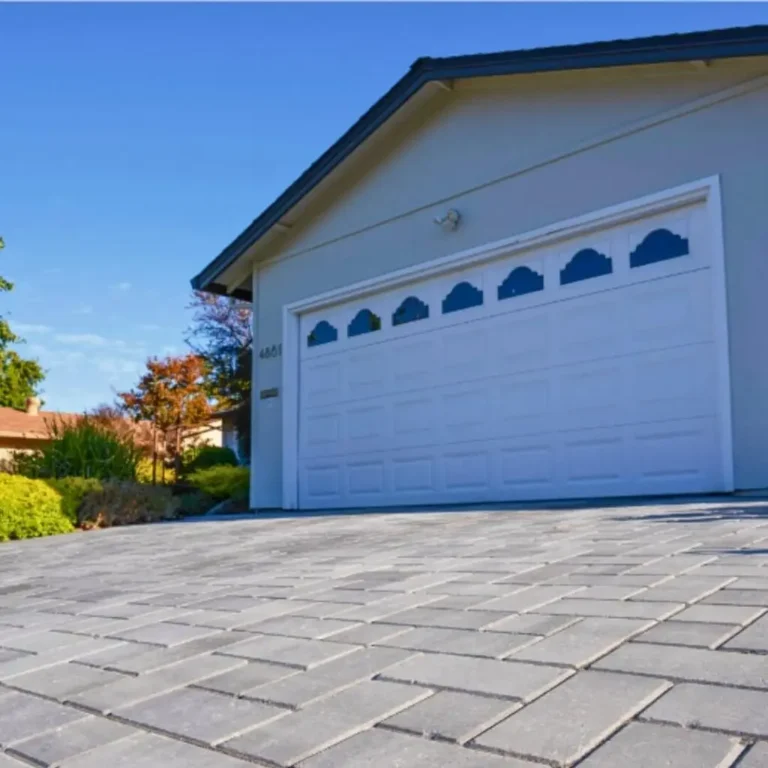
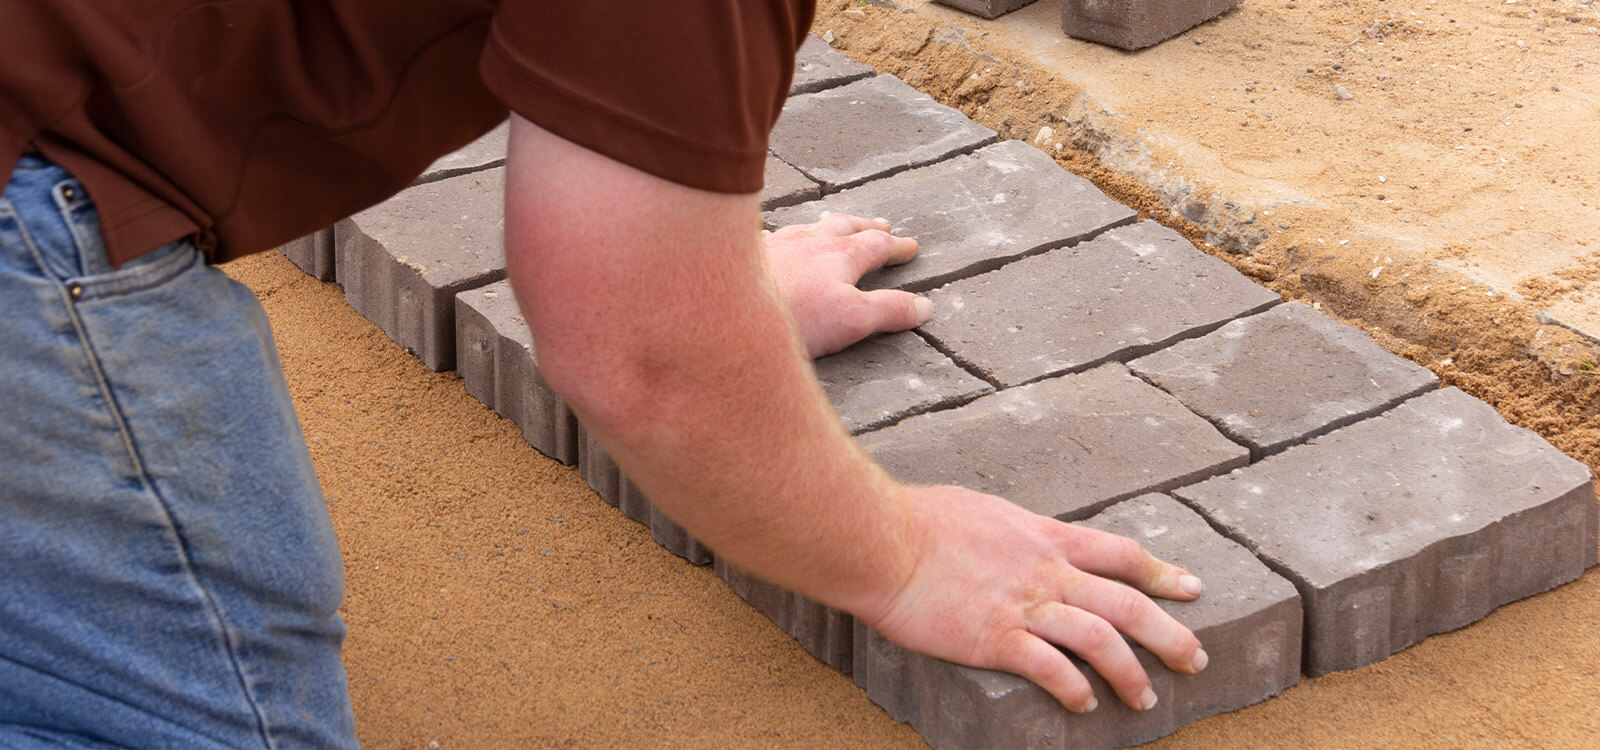
Laying the Pavers
In this section, we’ll guide you through the process of laying the pavers, answering the question, “What is the correct way to set pavers?” We’ll cover techniques for setting the first row, creating visually pleasing patterns, and making precise cuts for edges and corners. With our step-by-step instructions, you’ll achieve a professional-looking paver installation.
Setting the First Row
Setting the first row of pavers properly is crucial for the alignment and stability of the entire installation. We’ll provide guidance on creating a level and straight first row, ensuring a solid starting point for the rest of the project. Proper leveling techniques will be emphasized to achieve a visually appealing and structurally sound result.
Patterns and Layout
Creating unique patterns and designs with your pavers adds visual interest to your outdoor space. We’ll discuss popular pattern options, such as herringbone, running bond, and basketweave, and provide tips for layout planning and execution. With our guidance, you’ll be able to create stunning and eye-catching patterns that elevate the overall aesthetics of your paver installation.
Cutting and Edging
Achieving clean and precise cuts is essential when laying pavers. We’ll address the question, “How do you cut pavers?”, and provide techniques for cutting pavers accurately using a variety of tools. Additionally, we’ll discuss the importance of edging to provide a neat and finished look to your paver project.
Jointing and Sealing
Once the pavers are laid, jointing and sealing are necessary to enhance the stability and longevity of the installation. We’ll guide you through the process of filling the joints with appropriate materials and sealing the pavers to protect against stains and weathering.
Filling the Joints
Filling the joints between the pavers is essential for preventing shifting and promoting stability. We’ll discuss different jointing materials, such as polymeric sand or traditional sand, and provide instructions for proper joint filling techniques. With our guidance, you’ll achieve sturdy and weed-free joints.
Sealing the Pavers
Sealing the pavers adds an extra layer of protection against stains, weathering, and fading. We’ll discuss the benefits of sealing and guide you through the process of selecting the right sealer and applying it correctly. Sealing your pavers will help maintain their appearance and make maintenance easier in the long run.
Finishing Touches and Maintenance
In this section, we’ll address the final touches and ongoing maintenance of your paver installation. We’ll discuss adding edging for a polished look and provide tips on cleaning and maintaining your pavers to keep them looking their best for years to come.
Adding Edging
Adding edging to your paver installation not only enhances the aesthetics but also helps keep the pavers in place and prevents shifting. We’ll discuss different edging options and provide instructions on proper installation techniques.
Cleaning and Maintaining
Proper cleaning and maintenance will prolong the lifespan and appearance of your pavers. We’ll provide tips and best practices for regular cleaning, addressing stains, and performing necessary maintenance tasks. With our guidance, you’ll be able to keep your pavers in excellent condition for years of enjoyment.
Conclusion
In conclusion, laying pavers is a rewarding DIY project that can transform your outdoor space. By following the comprehensive guide provided in this article, you’ll have the knowledge and confidence to tackle your paver installation successfully. Remember to prioritize safety, take your time with each step, and enjoy the process of creating a beautiful and functional outdoor space.